

A Pattachitra painting has a way of drawing you into its world. Gods and goddesses appear amid elaborate floral patterns, decorative borders, and vivid colours, with every inch of the canvas holding a detail worth looking at. Originating in Odisha, this traditional art form tells stories through intricate illustrations, where even the smallest line has a part to play.
One detail that brings the entire painting together is the final black outline, known as khatua. It gives the figures their definition and makes the finer details stand out. Look closely, and the precision can seem almost impossible to recreate by hand. For anyone hoping to try Pattachitra for the first time, that can be a little daunting. Does it really take years of practice to make even a simple painting? Not necessarily.
The Secret to Getting Started With Pattachitra
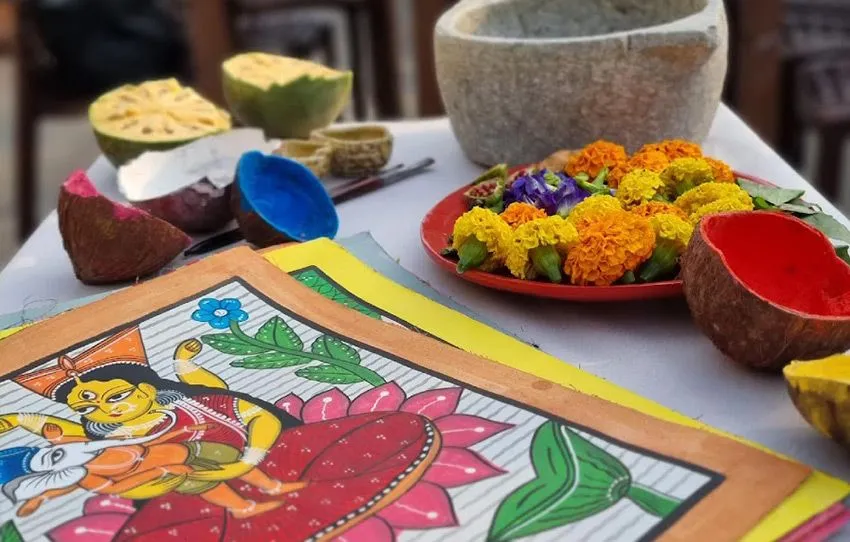
Getting Started With Pattachitra. Source - Alphonso Stories
The good news is that the most intimidating part of a Pattachitra painting is also the part that comes last. The khatua, or fine black outline, is applied only after the colours have been filled in and allowed to dry. This means you can begin by building the painting's shapes and colours without worrying about getting every delicate line right from the outset.
The process starts with rang-bharna, the stage where the different parts of the composition are filled with colour.
- Filling in the Colours (Rang-Bharna): Artists fill the figures, clothing, and decorative patterns with traditional colours such as hingula red, haritala yellow, and conch-shell white. These are applied in flat, even areas, giving the painting its colour and form. For beginners, this is an opportunity to get comfortable with the brush and learn to work within the shapes before moving on to finer details.
- Adding the Final Outline (Khatua): Once the colours have dried, the artist uses a fine brush to draw the black outlines. These define facial features, separate intricate patterns, and give the figures their distinctive sharpness. The precision takes practice, but it no longer has to be the first hurdle a beginner faces. -Understanding this sequence makes Pattachitra feel far less daunting. You can approach the painting one stage at a time, letting the colours come together before tackling the fine line work that gives the finished piece its character.
Start Small Before You Paint a Whole Story
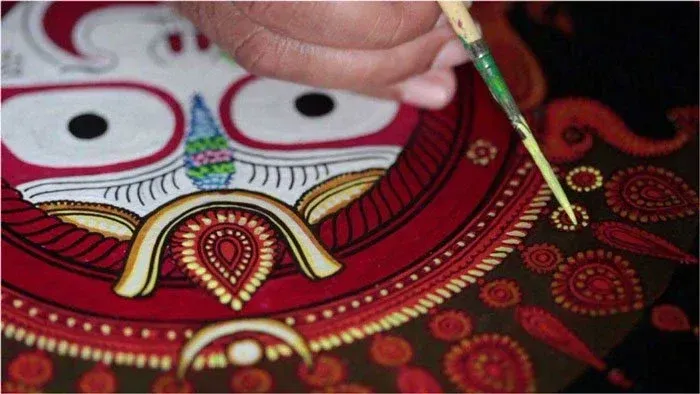
Small Beginnings with Pattachitra. Source - Housenama
Once you understand how colour and outlines work together, the next step is learning how to approach a Pattachitra painting without feeling overwhelmed by the details. A good introduction breaks the process into smaller, manageable exercises, allowing you to get familiar with the techniques before attempting an elaborate scene.
- Get to Know the Traditional Colour Palette: Pattachitra uses a distinctive palette of traditional colours, including white (Sankha), black (Kajal), yellow (Haritala), red (Hingula), and green or blue (Khandaneel). Learning how these colours work together helps you understand the visual balance of a painting before you begin filling in the details.
- Practise One Element at a Time: Instead of starting with an elaborate scene from mythology, begin with a single motif, such as a lotus medallion (Padma) or a decorative leaf pattern (Lata). Working on one element at a time gives you room to practise shapes, colours, and outlines without having to manage an entire composition.
- Learn How to Plan the Composition: Even a detailed Pattachitra painting follows an underlying sense of proportion and arrangement. Learning how to divide a panel into balanced sections, sometimes described through the concept of talam, can help you plan where figures, motifs, and decorative borders will sit before you start painting.
These exercises give you a place to begin without taking away from what makes Pattachitra special. You gradually become familiar with its colours, patterns, and structure, building the confidence to take on more detailed work when you are ready.
Common Mistakes to Avoid When Learning Pattachitra
Starting with smaller motifs and learning the basics gives you room to experiment, but a few common mistakes can still make the process frustrating. Knowing what to watch out for can help you spend less time correcting your work and more time getting comfortable with the art form.
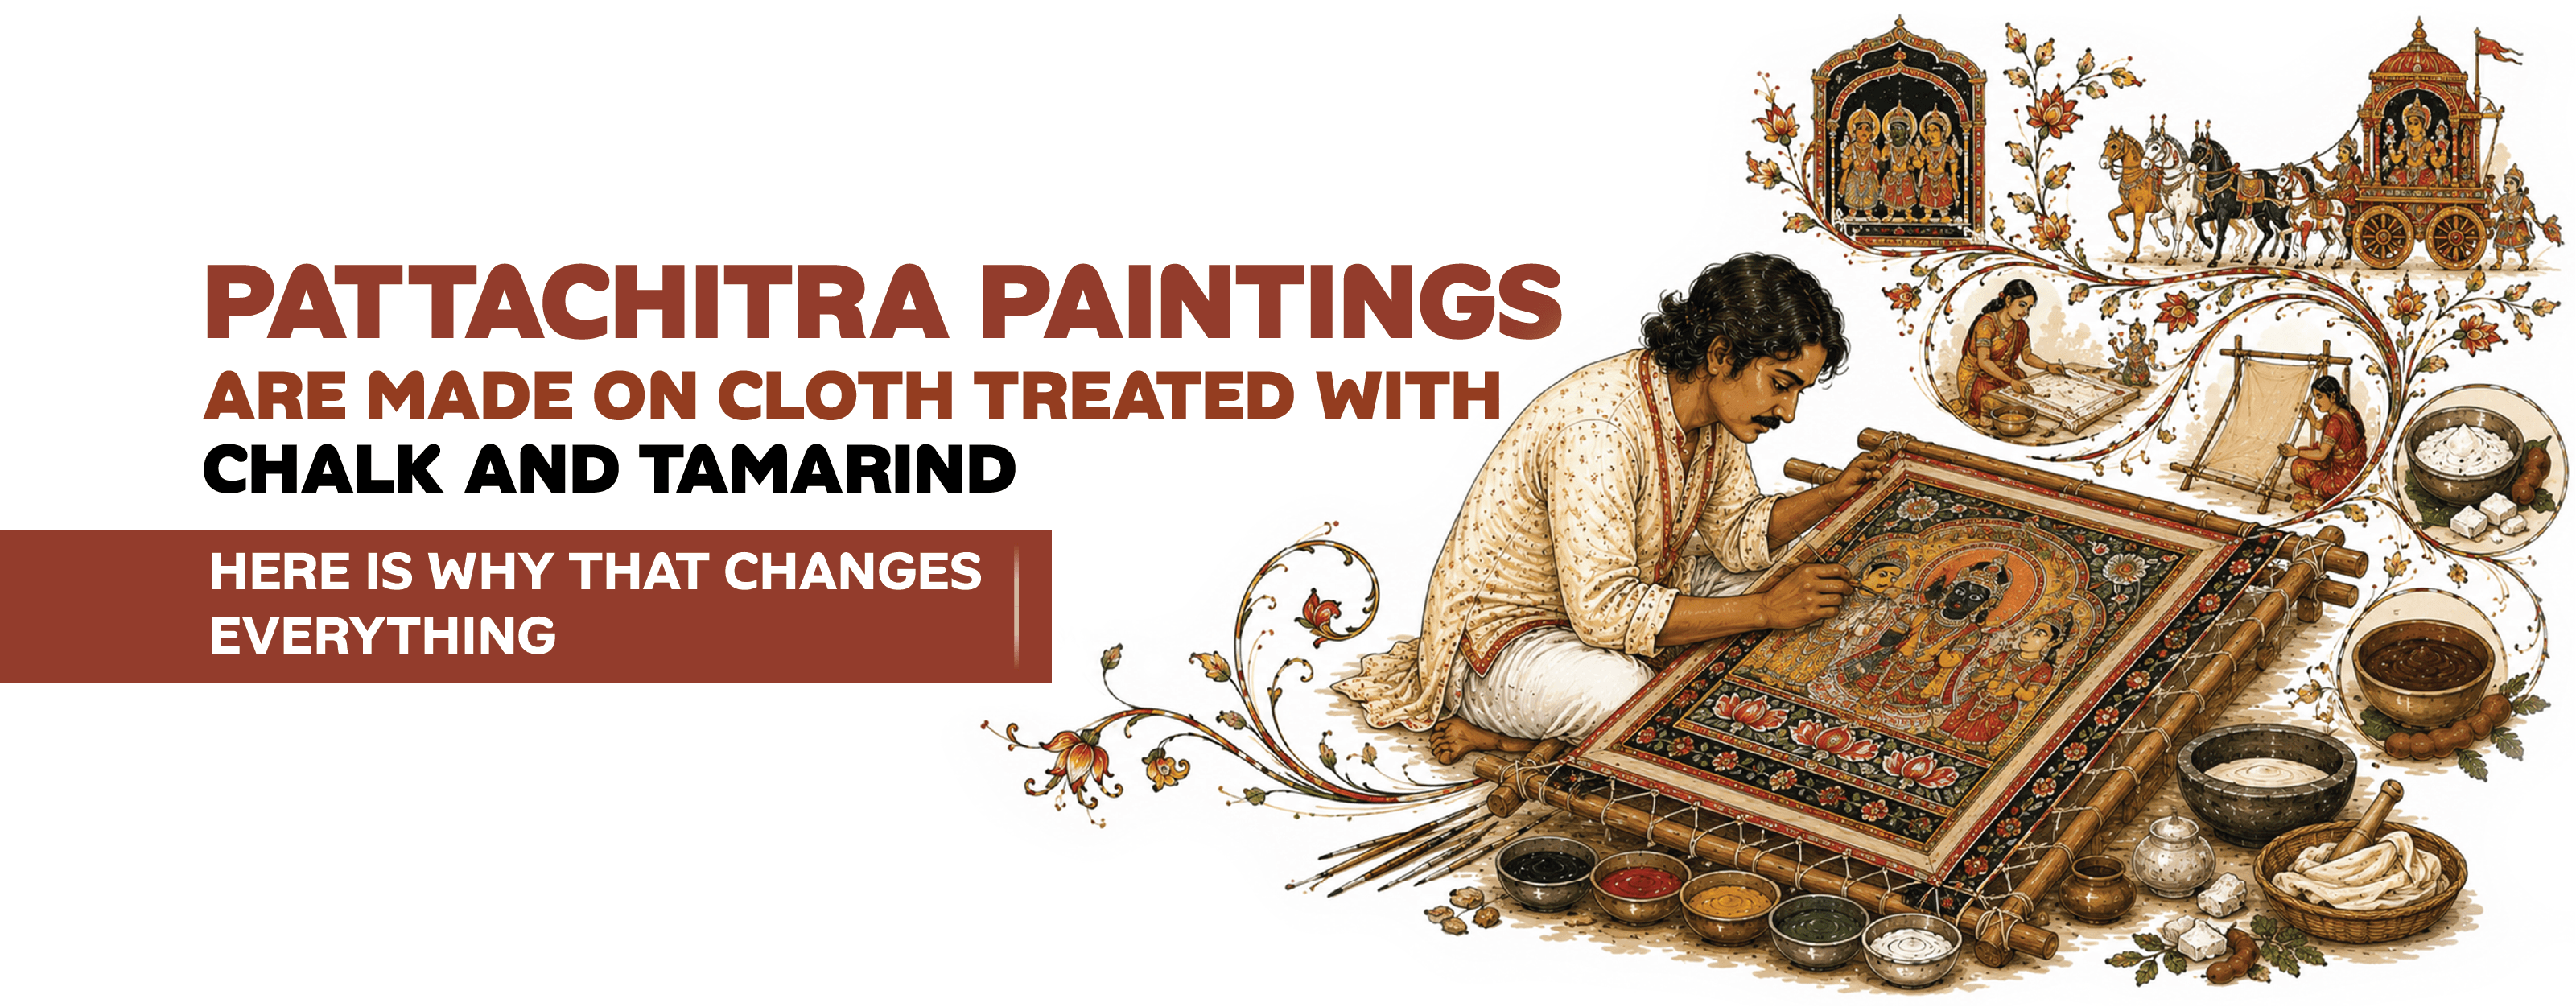
- Adding Too Much Water to the Paint: Traditional Pattachitra uses a prepared patta, a surface treated with a mixture of chalk and tamarind-seed gum. The paint needs to be thick and opaque enough to sit neatly on this smooth surface. If it's too watery, the pigment can spread beyond the shape you're filling, making it harder to achieve the clean finish Pattachitra is known for.
- Moving to the Next Layer Too Soon: Patience matters, especially when you're working with several colours and fine outlines. If the underlying paint hasn't dried completely, adding another colour or drawing the black khatua outline too early can cause the pigments to bleed into one another. Letting each layer dry properly helps keep the colours distinct and the details sharp.
- Taking on an Elaborate Composition Too Early: It's tempting to try painting a detailed Jagannath scene or a full Anasara Patti straight away, but complex compositions involve many figures, patterns, and small details that can be difficult to manage all at once. Start with individual motifs, such as a lotus or a decorative border, and work your way towards more elaborate scenes as your confidence grows.
Pattachitra rewards patience more than speed. If a line wavers or a colour spreads, it doesn't mean you're incapable of learning the art form. Give yourself time to understand the materials and practise each stage, and the process becomes much more manageable.
What You Can Learn in Three Sessions
Once you've got the hang of the colours, motifs, and basic composition, you can start bringing these elements together into a painting of your own. Three sessions give you a practical way to see how the different stages of Pattachitra fit together.
- Session 1: Getting Comfortable with Colour Start by practising even, opaque colour fills. You'll learn how the paint behaves on the prepared surface and try simple motifs such as a lotus or a fish.
- Session 2: Putting a Composition Together Move from individual motifs to a small panel. Combine a central design with a Lata creeper border and fill the background, paying attention to how the different elements sit together.
- Session 3: Bringing in the Fine Details Once the colours have dried, practise adding the khatua, the fine black outlines that give Pattachitra its distinctive finish. This is where the shapes and colours you've been working on begin to come together as a complete painting.
Your First Pattachitra Painting Is a Place to Start
Three sessions won't make anyone a master of Pattachitra, and the finer techniques will take more practice. But they can help you move past the fear of getting started and finish a painting you can call your own. Sometimes, seeing a traditional art form take shape under your own hand is reason enough to pick up a brush again.
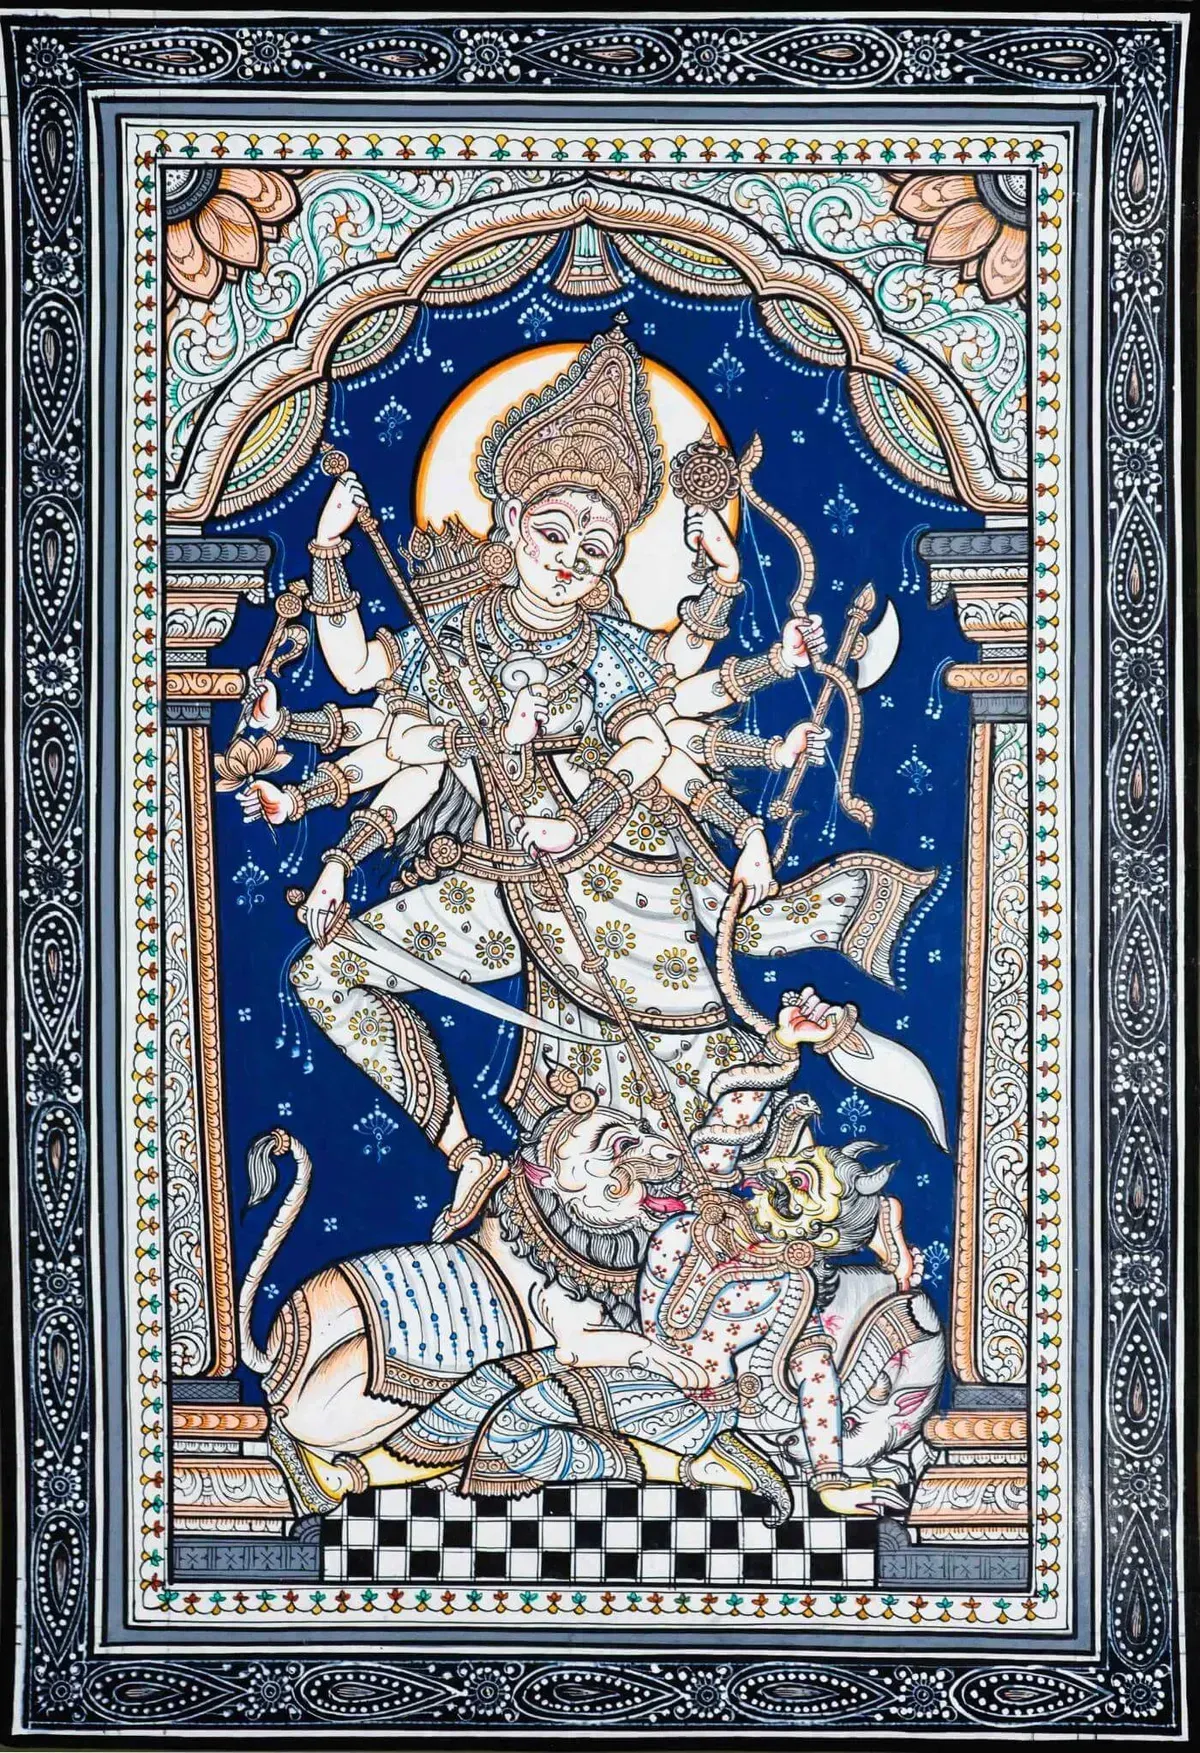
A finished Pattachitra painting can take years of practice to master, but that doesn't mean you need years of experience to appreciate the process or try it yourself. Start with a few colours, practise a simple motif, and gradually work your way towards the fine outlines that first caught your eye. The more you understand how the painting comes together, the less intimidating it feels.
If you'd like to explore traditional Indian art through hands-on learning, Rooftop offers a way to get closer to art forms like Pattachitra and the artists who have kept these practices alive. Learning about an art form is one thing, but trying its techniques yourself can give you a different appreciation for the patience, skill, and thought that go into every finished piece. You might not get every line right on your first attempt, and that's perfectly fine. The point is to begin, understand the process, and enjoy discovering what your own hands can create.