
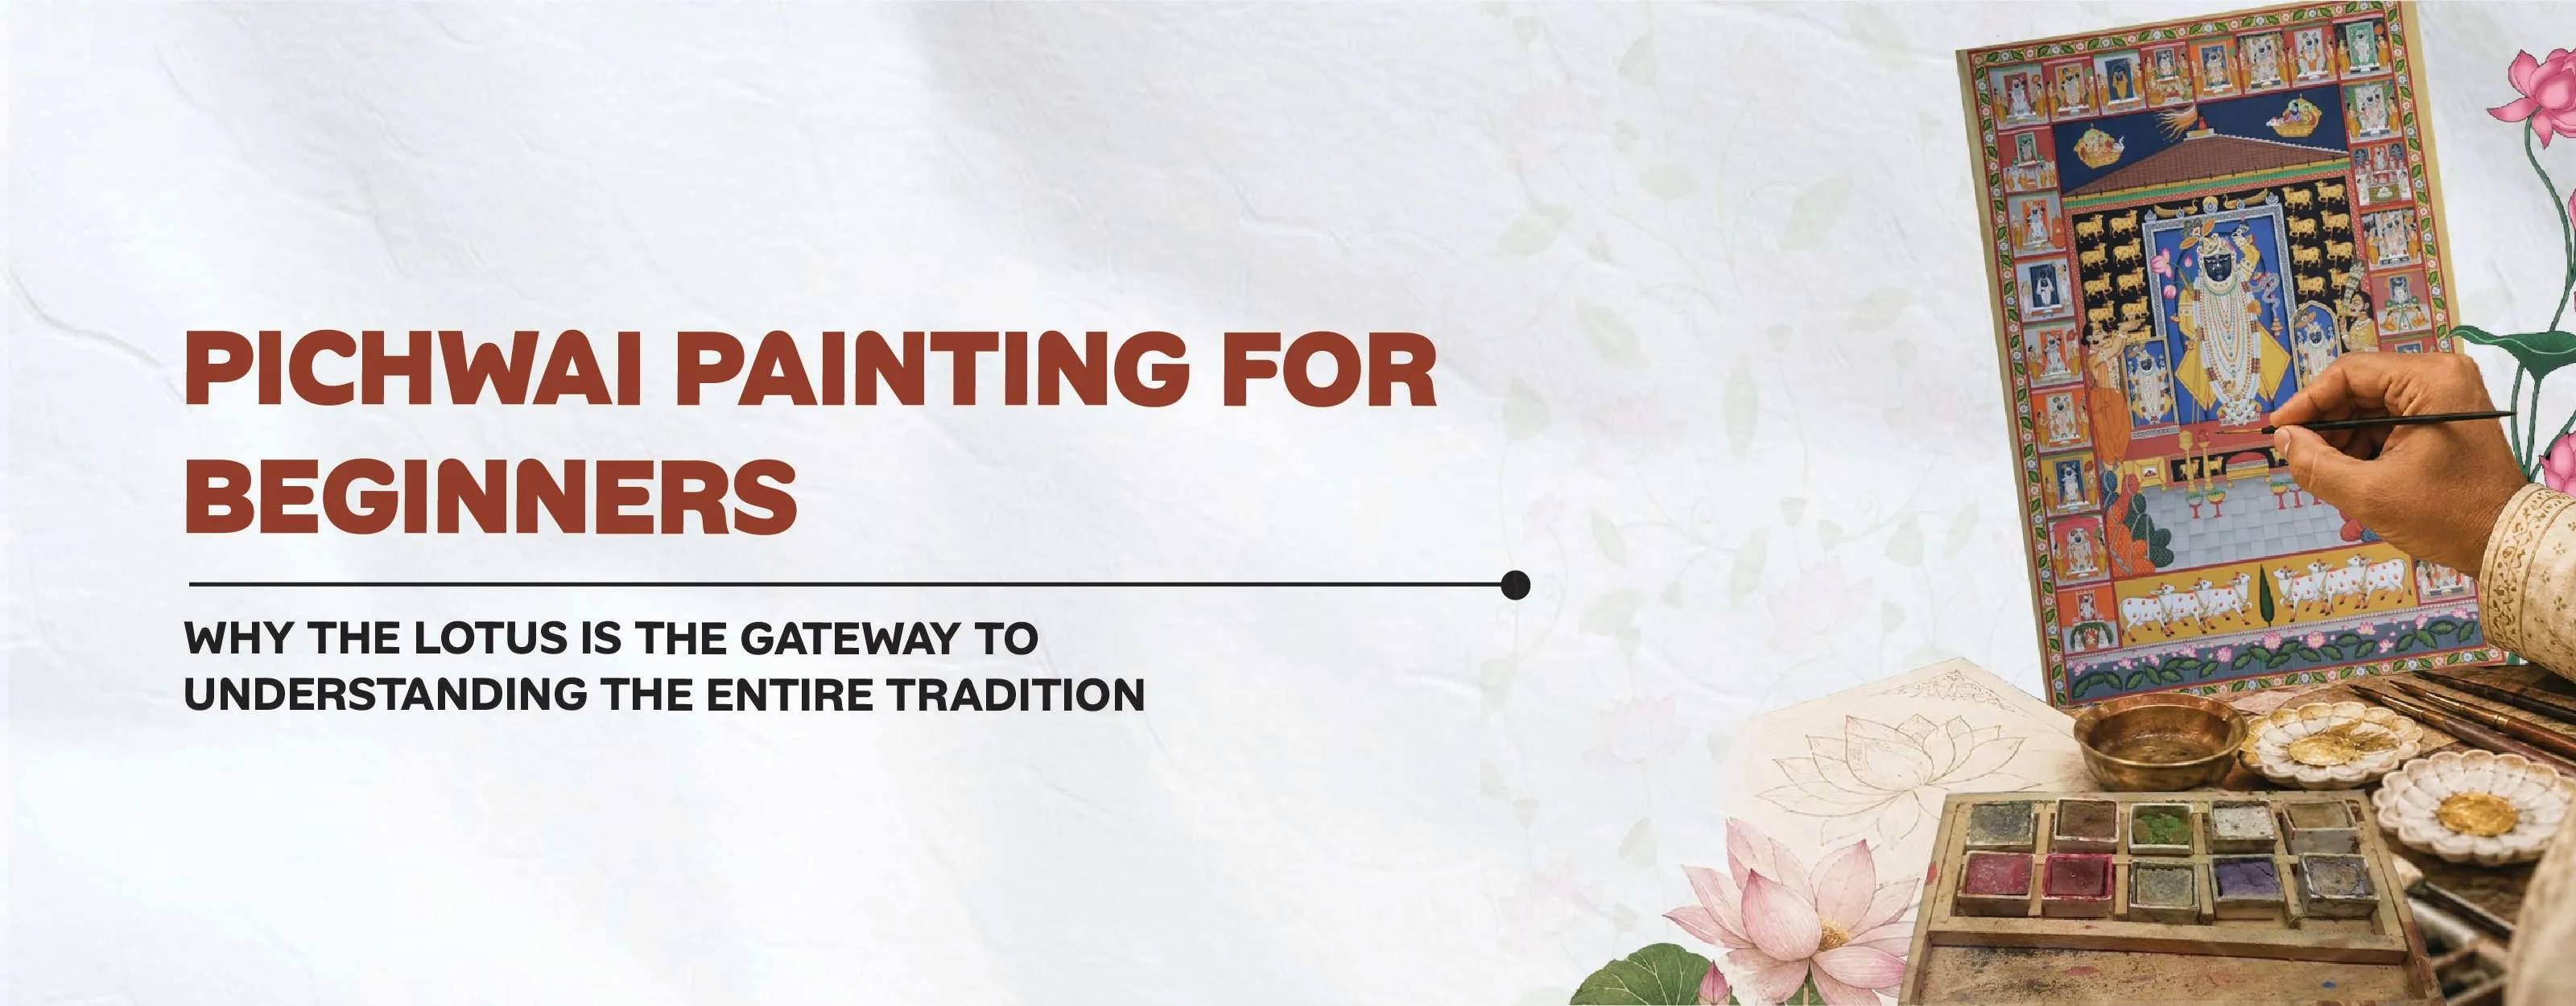
Pichwai Painting for Beginners: Why the Lotus Is the Gateway to Understanding the Entire Tradition
Learn Pichwai painting with this beginner-friendly guide covering essential materials, lotus motifs, colours, techniques, common mistakes, and practice tips.

Rooftop
Author
Apart from Gond, Pichwai is one of the most popular traditional Indian art forms, with admirers across the world. Once you come across a Pichwai artwork, it is natural to feel the urge to learn the art yourself. However, that excitement can quickly turn into hesitation when you start thinking about how difficult it might be. When people first encounter Pichwai art, the sacred, 400-year-old devotional painting tradition that originated in the temple town of Nathdwara in Rajasthan, their immediate reaction is often a mix of awe and intimidation.
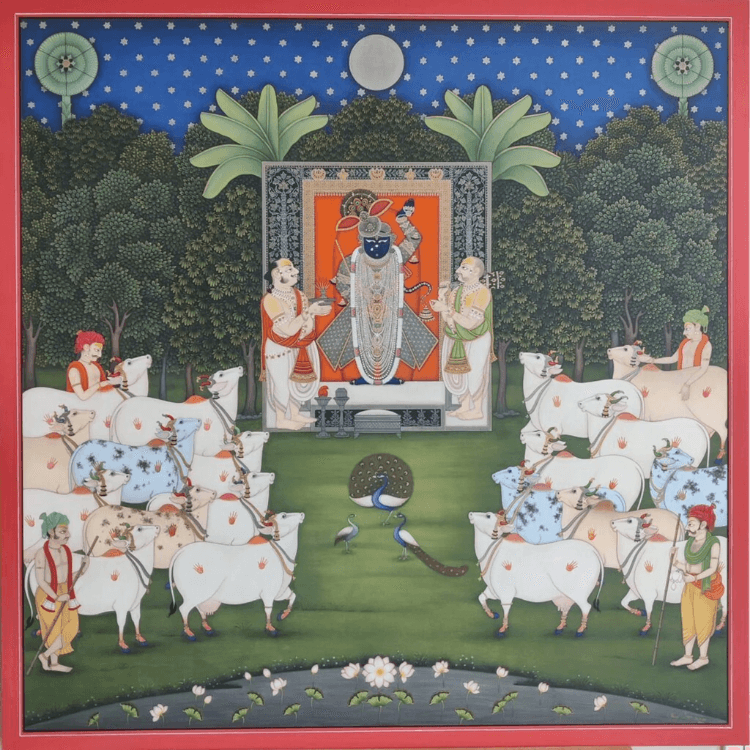
A classical Pichwai hanging behind the deity Shrinathji can feature brilliant burnished gold leaf (sone ka vark), dense figurative compositions, intricate cattle (gai), peacocks, and lush lotus ponds (Kamal Talav). With so much detail packed into a single artwork, it is easy to assume that Pichwai is an exclusive art form that requires hereditary lineage or years of professional training before you can even pick up a brush. That assumption, however, can keep aspiring artists from ever giving it a try. In reality, Pichwai follows a logical and modular visual structure that can be understood step by step, beginning with its most fundamental elements.
Why the Lotus Is the Right Place to Start
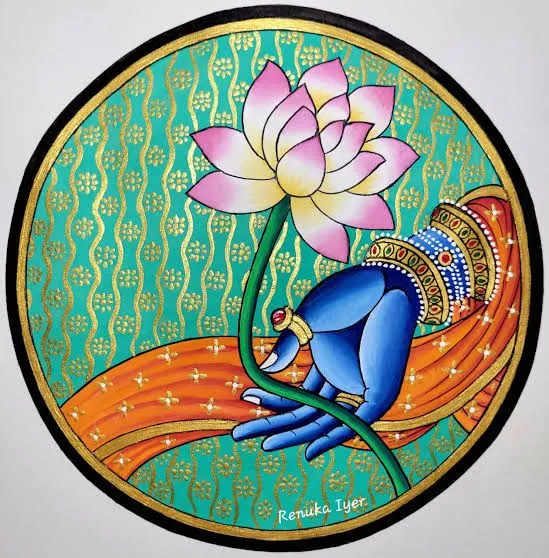
Lotus in Pichwai Credits - International Indian Folk Art Gallery
For anyone learning Pichwai art, the lotus (Kamal) is an ideal starting point. The lotus is not merely a decorative element in Nathdwara painting. It is one of the fundamental motifs used to build larger and more complex Pichwai compositions.
Starting with a single lotus allows beginners to understand some of the core principles of the art form:
- Petal Construction: Learning how each petal expands from a delicate base into a curved, pointed tip, with subtle inner shading that gives it depth.
- Radial Symmetry: Arranging petals in concentric layers around the central seed pod (karnika) helps develop a sense of proportion, symmetry, and hand coordination.
- The Signature Warm Palette: Working with Pichwai's characteristic colours, including deep crimson (hinglu), lotus pink, warm ochre, and stark white, introduces beginners to the colour harmony that defines the tradition.
Once you learn to draw and paint a single lotus with confidence, the process becomes much less intimidating. You begin to understand the visual language of Pichwai, making it easier to approach the larger, more intricate compositions that the art form is known for.
What a Structured Beginner Session Actually Covers
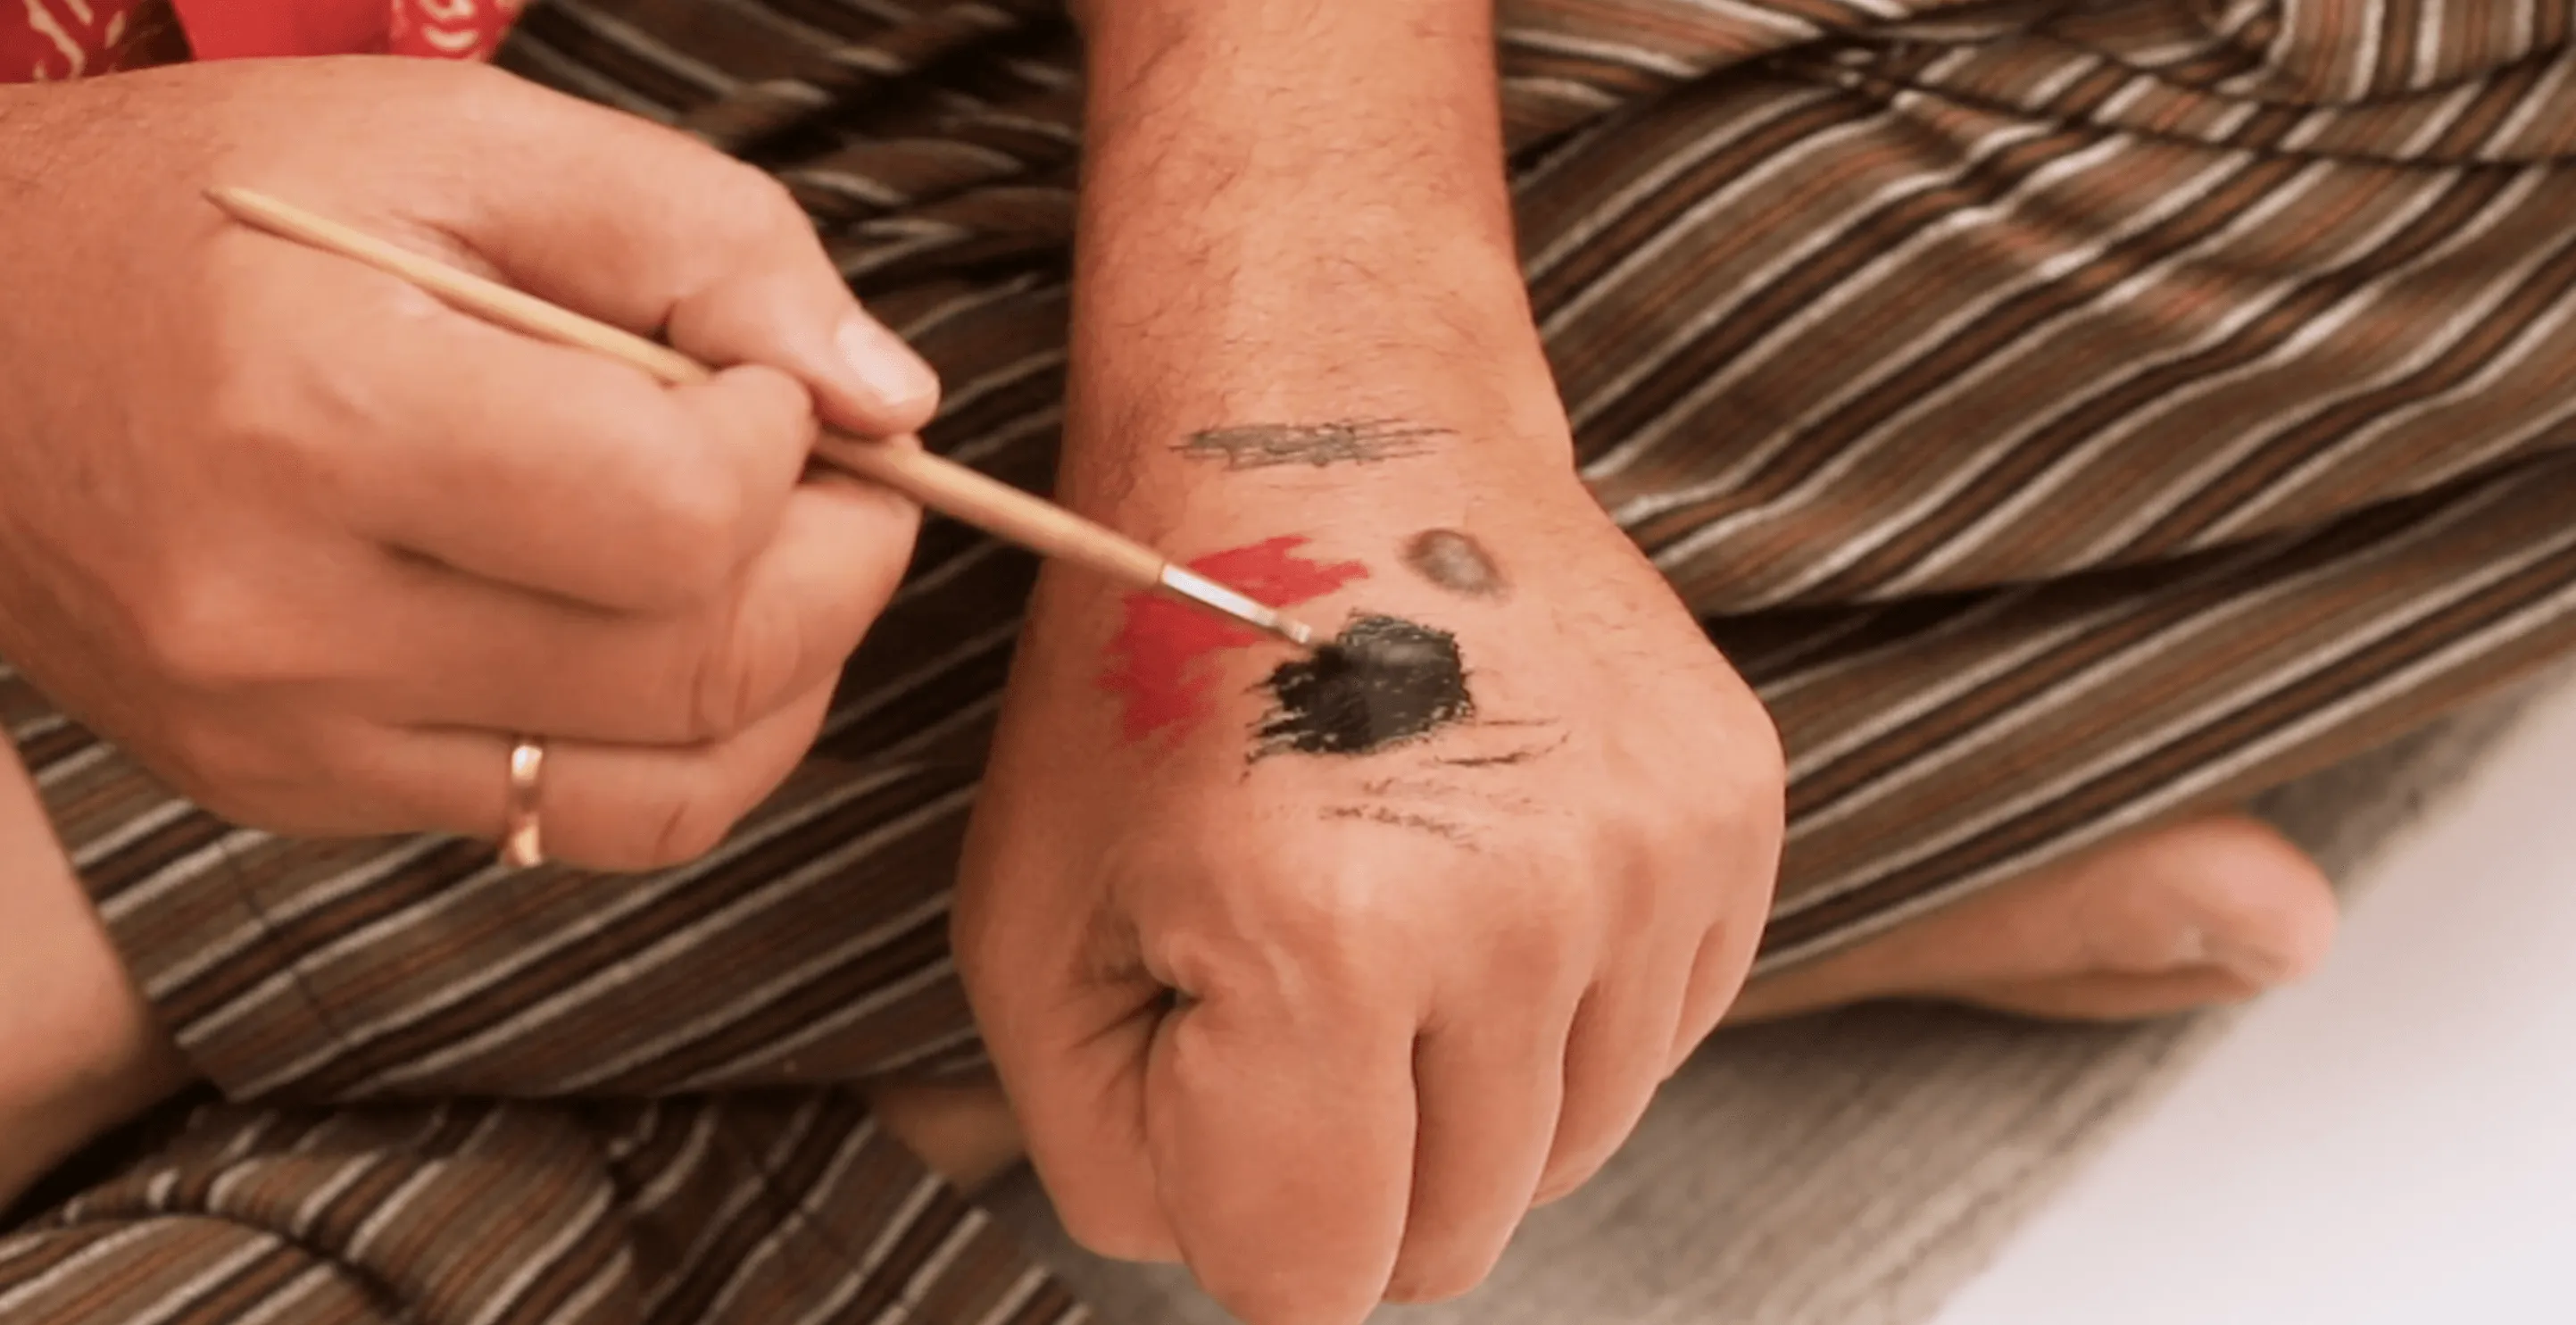
Learning Pichwai from Sratch
A well-designed introductory Pichwai session can give beginners a clear sense of how the art form is constructed, taking them through a sequence that moves from individual techniques to the larger composition:
- Understanding the Pichwai Colour Palette: Exploring how colours are used across a Pichwai composition, from deep indigo skies and rich reds to pinks and other traditional tones. Students also learn how the background ground is prepared before finer details are added.
- The Standalone Lotus Exercise: Practising the lotus as an individual motif on paper or cloth. This helps beginners work on line control, symmetry, petal construction, and the gradual application of colour before introducing the motif into a larger painting.
- Building Motifs into Borders (Hashiya): Taking the lotus from a standalone exercise and repeating it along a border band introduces the rhythm and balance involved in traditional Pichwai framing. It also shows how a single motif can become part of a larger decorative structure.
- Understanding the Compositional Structure: Students then begin to see how the elements of a Pichwai work relate to one another, often developing outward from a central focus such as Shrinathji, a lotus pool, or another principal motif. Floral bands, borders, and architectural elements can then be arranged around this focal area to create a balanced composition.
The Specific Materials Beginners Need and Why They Matter
The right materials can make the first few Pichwai exercises much easier to handle. Traditional Chitrakars in Nathdwara may work with carefully prepared mineral pigments and gold, but beginners do not need to recreate that entire setup from the start. A simple, well-chosen kit can provide a practical way to get familiar with the surface, colours, and fine brushwork involved in Pichwai painting.
Prepared Cotton Cloth (Khadi) Ground
Pichwai is traditionally painted on cloth, so beginners can practise on a prepared cotton ground rather than limiting themselves to smooth watercolour paper. A lightly starched or primed surface gives the brush some resistance and helps learners become comfortable working on textile.
Gouache or Opaque Poster Colours
Good-quality gouache or opaque poster colours are useful for practice because they provide strong coverage and vibrant colour without requiring beginners to prepare mineral pigments themselves. They can be used to explore the layered colour and bold palette associated with Pichwai before moving on to more traditional materials.
Fine-Tipped Brushes
Pichwai involves a considerable amount of detailed line work, so fine-pointed round brushes are useful for beginners. Sizes such as 0, 00, and 000 can help with delicate outlines, facial features, floral details, and other small elements of a composition.
Choosing Colours for Gold Details
Gold is an important part of many Pichwai compositions, but beginners do not necessarily need to start with gold leaf. Instead, warm saffron, yellow ochre, and deep orange can be used while practising areas that would eventually receive gold. This allows learners to focus on placement, detailing, and composition before taking on the additional process of working with gold.
What Beginners Consistently Get Wrong in the First Session
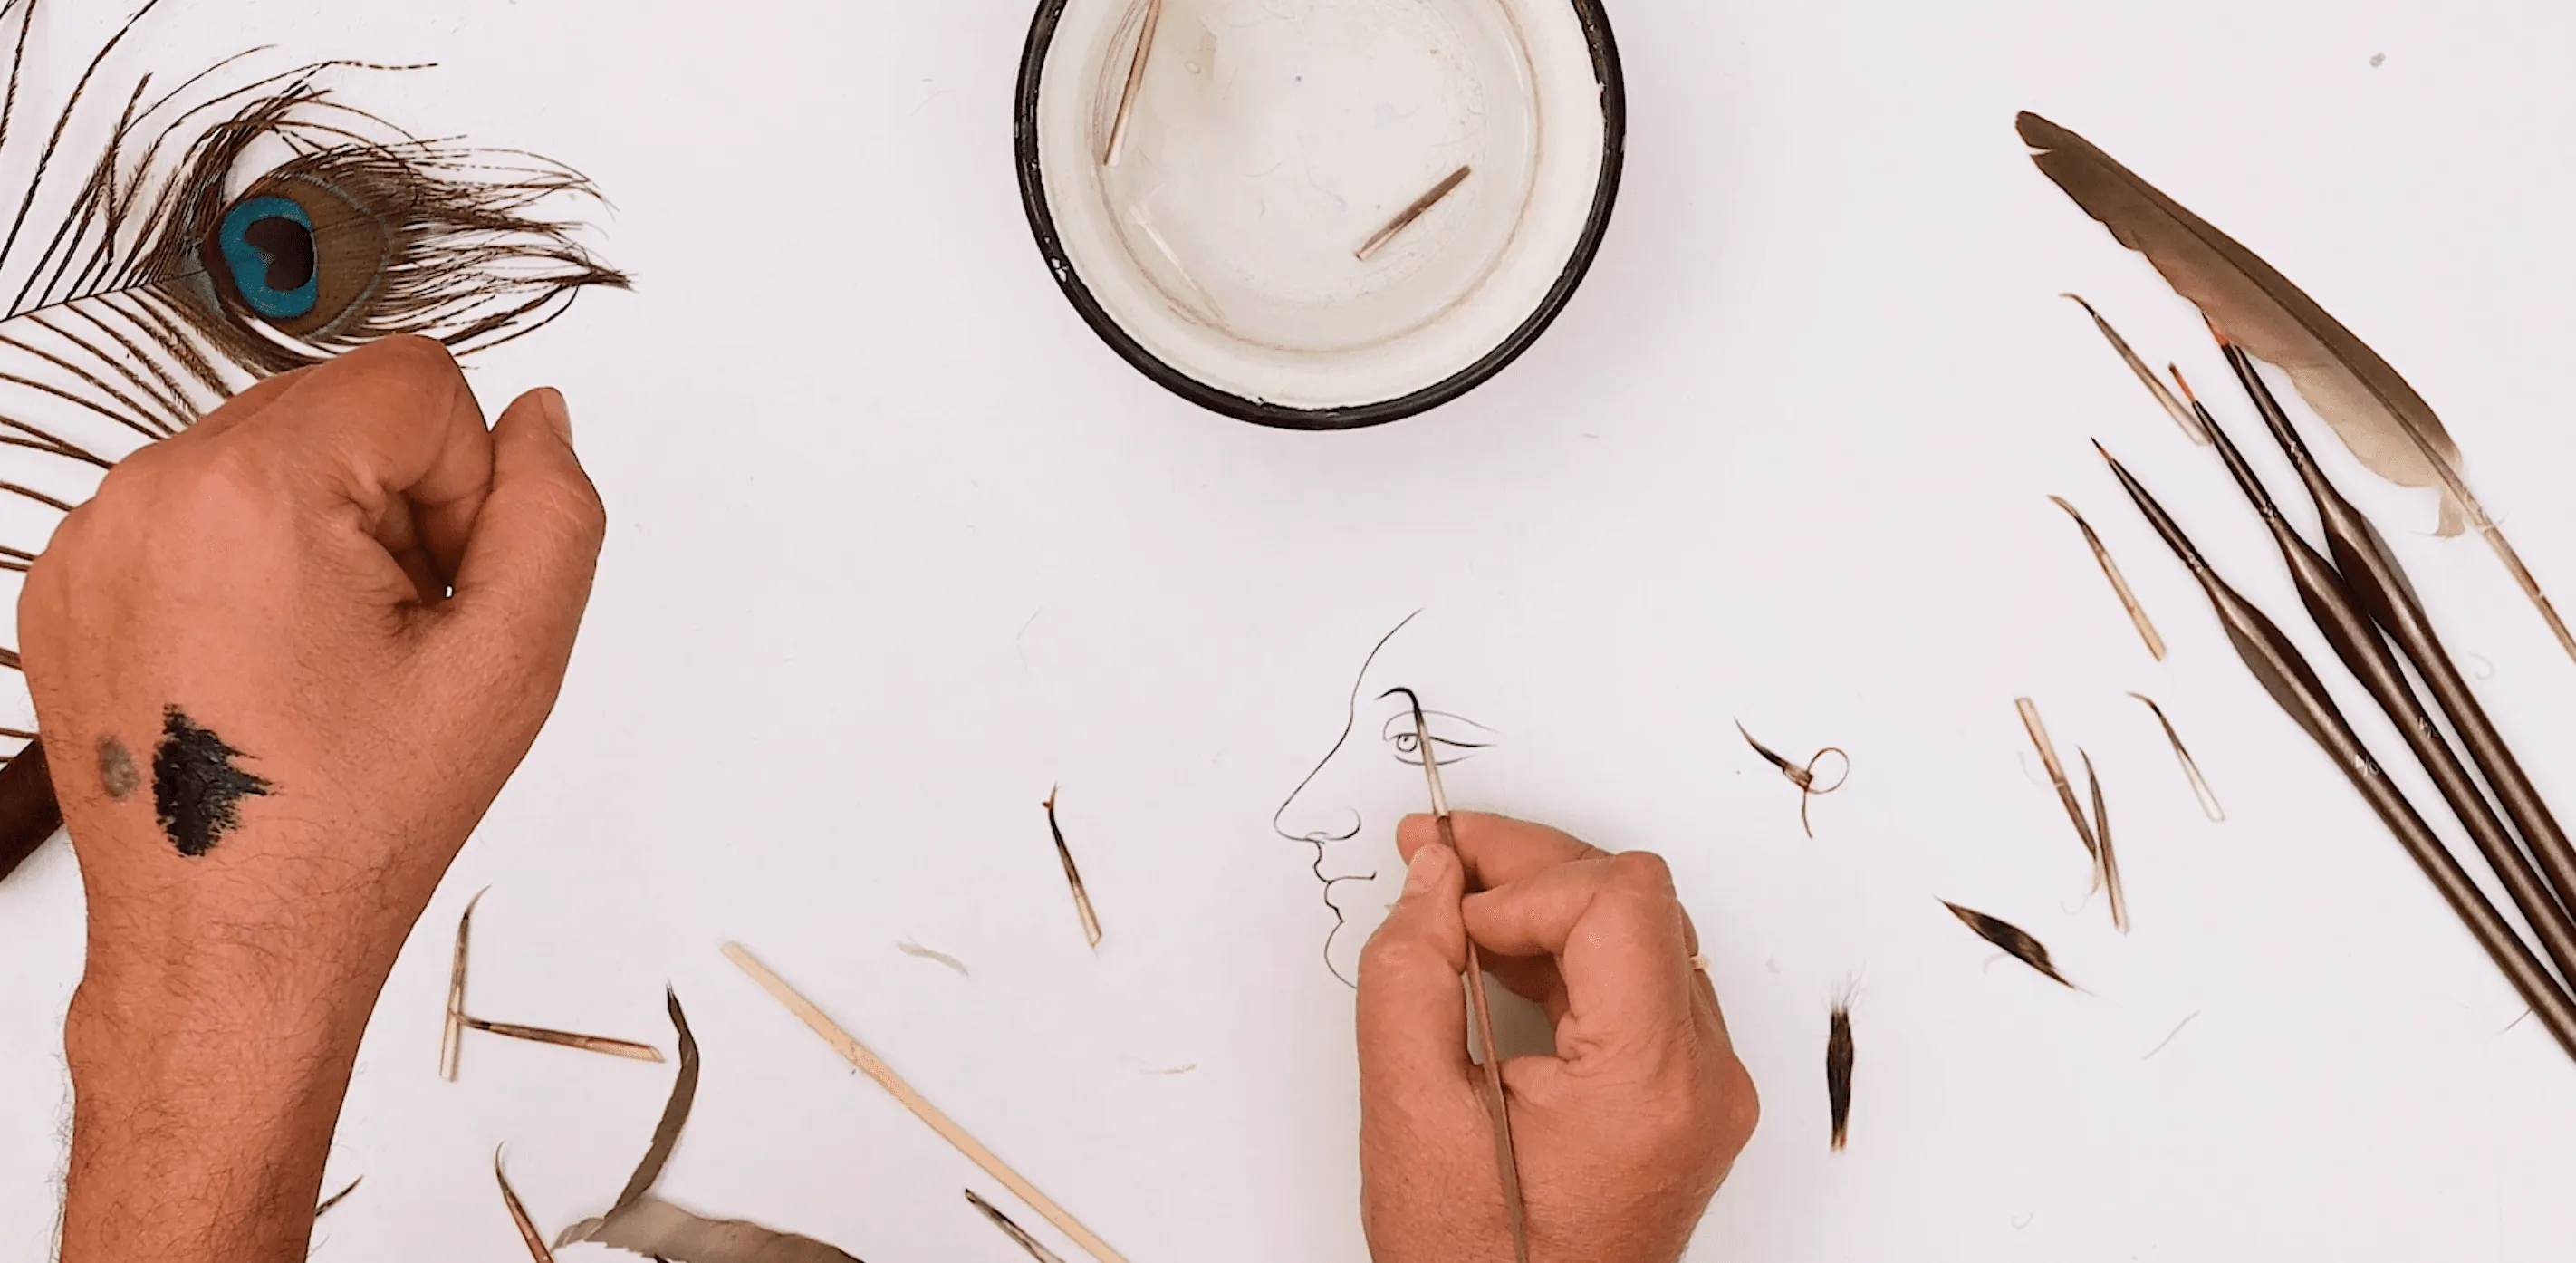
Pichwai First Session
Even with clear guidance, beginners can run into a few common technical mistakes when learning Pichwai painting. Knowing what to avoid can make early practice more manageable and help build the right techniques from the beginning.
- Starting at Too Large a Scale: A large 3×4-foot cloth may resemble traditional temple hangings, but it can be difficult for a beginner to handle. Working on a smaller panel, such as 8×10 or 10×12 inches, makes it easier to practise individual motifs without becoming overwhelmed by the size of the composition.
- Using Too Much Water: Over-watering the paint can result in thin, streaky layers that lack the solid coverage needed for Pichwai painting. Beginners should aim for a consistent, opaque application of colour, allowing each layer to dry properly before adding finer details.
- Moving to the Divine Figure Too Early: Shrinathji is often the focal point of a Pichwai composition, but it can be challenging to paint without first becoming comfortable with simpler elements. Practising geometric fills, lotus motifs, cows, and other supporting details helps develop the control and repetition needed for more detailed figurative work.
- Outlining Before Filling: Beginners may assume that the fine dark outlines should be drawn first and the colours filled in afterwards. In the technique described here, the solid colour areas (rang bharna) are applied first. Once the paint has dried, fine dark lines and details, including karchi work, are added over the layers to define the forms and refine the composition.
What Progress Looks Like After Three Focused Sessions
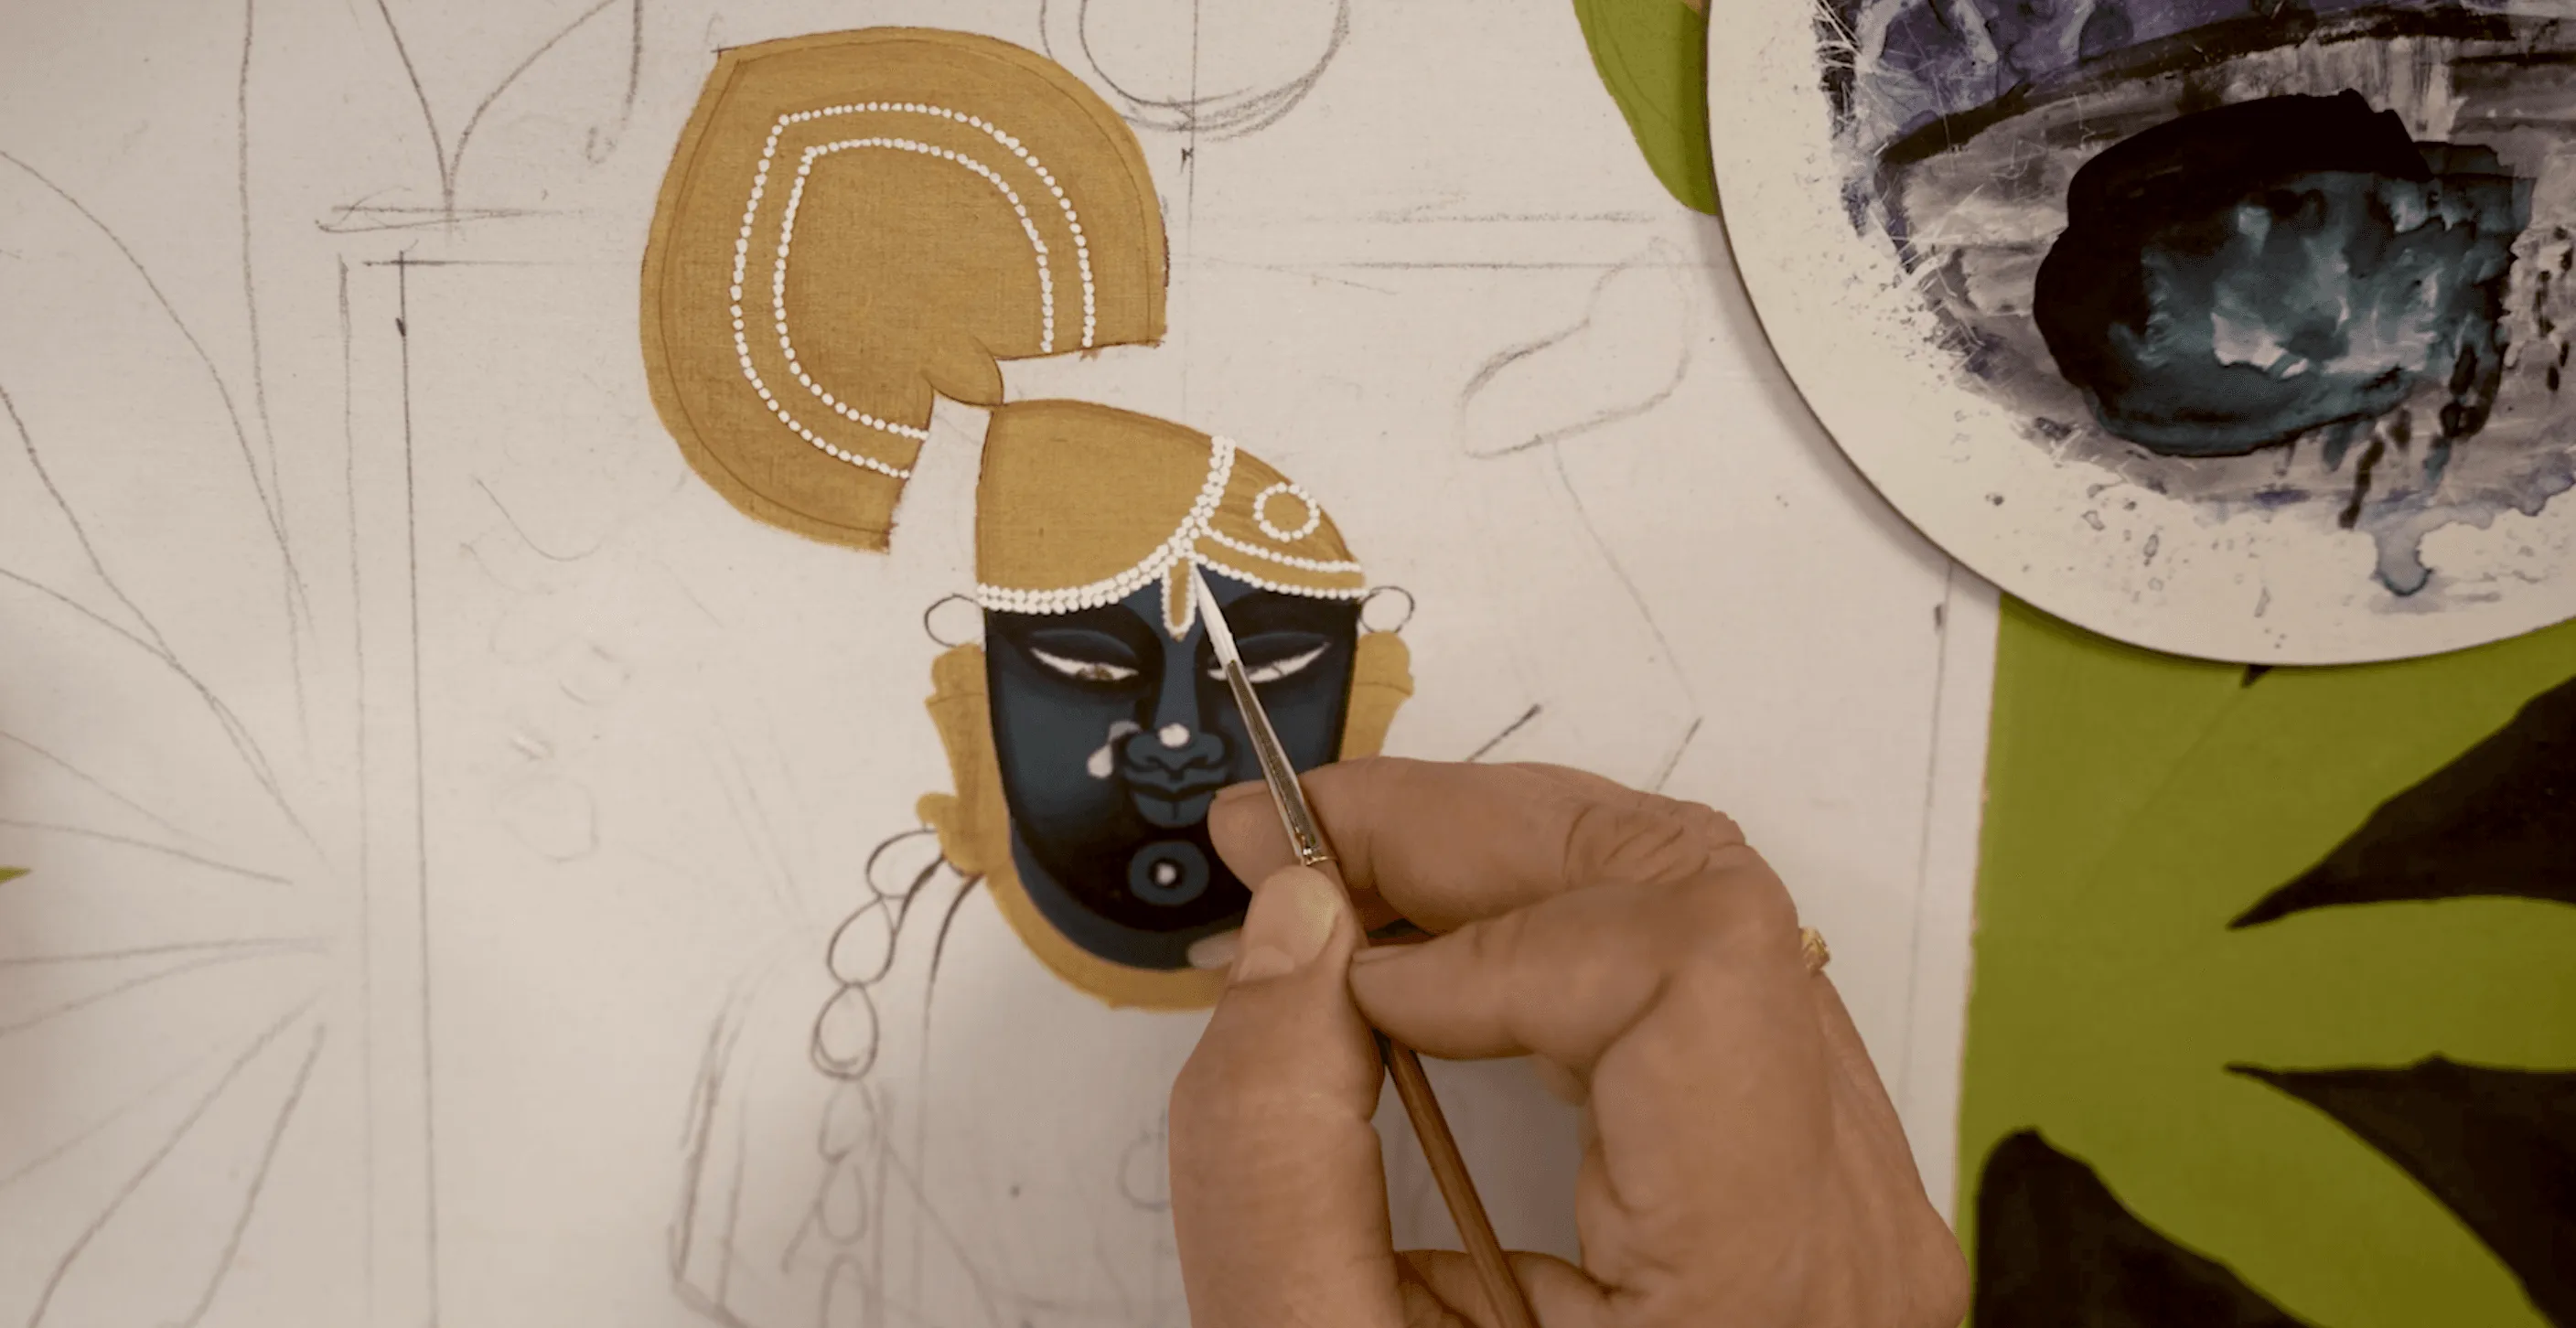
Progress in Pichwai Course
A structured practice routine can make the learning process in Pichwai painting easier to follow. Instead of attempting a complete composition at once, beginners can build their skills across a few focused sessions:
- Session 1: The student practises the basic geometry of the lotus, learns to apply opaque colours evenly, and works on laying down flat background colours (zameen).
- Session 2: The student builds a repeating Kamal Talav (lotus pond) border, practises colour shading (ghatai), and learns to add fine dark outlines over dried colour fills.
- Session 3: The student brings these techniques together in a small Pichwai panel, using a central motif such as a sacred cow or lotus pool, framed by a decorative border. The focus is on maintaining balanced colours, consistent forms, and clean line work.
After these exercises are done, a beginner can have a finished piece that reflects key elements of Pichwai painting, even before developing advanced technical skills. Breaking the process into smaller exercises allows the techniques, motifs, and composition to become familiar gradually, giving beginners a practical foundation for further practice.
Once you have a grasp of the basic motifs, colours, and techniques, you can take your practice further by exploring the history and traditions behind Pichwai painting. Rooftop’s Pichwai Painting Course by Shri Rajaram Sharma, a National Awardee who has practised the art for over four decades, covers its history, colours, brushes, motifs, and painting techniques across 5 chapters and 38 lessons. It is a practical next step for anyone looking to understand and practise Pichwai beyond the basics.